


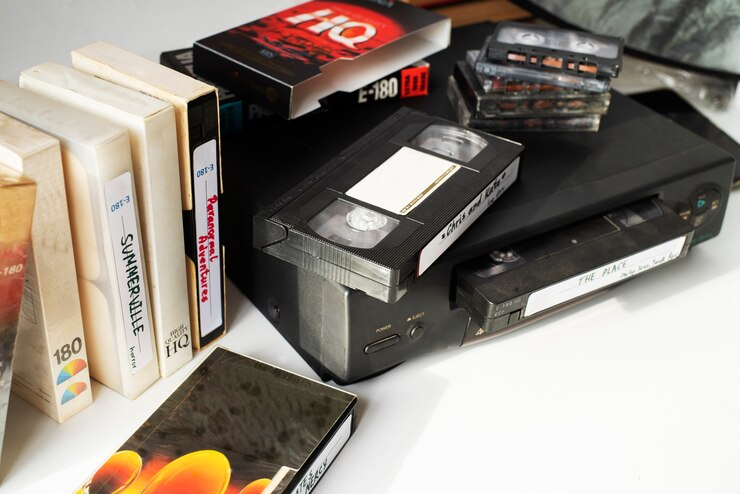
Have you ever found an old box in the basement, its worn sides hinting at forgotten tales? Among dusty keepsakes, you might find an old VHS tape. What memories does this plastic shell guard? Perhaps a childhood party filled with joy? Or maybe a nerve-racking school play?
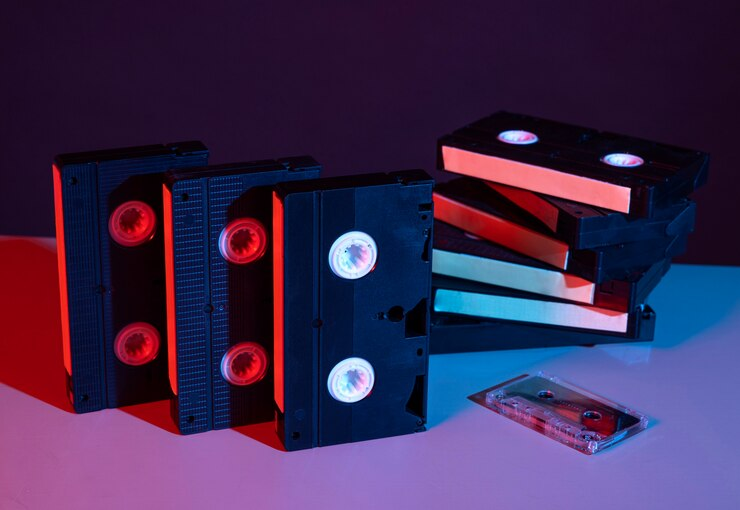
VHS tapes wield a unique power — they capture moving images and emotions, preserving a lost era in flickering light and muffled audio. But time is a relentless force, eroding these precious memories. The tapes degrade. And the magic imprisoned within becomes unreachable.
Here is where digitization steps in — a technological bridge that breathes new life into these fading moments. By converting VHS tapes to MP4, a universal digital format, you ensure these memories aren’t lost forever. Here are five ways to embark on this journey of digital preservation.
5 Ways To Digitize VHS Tapes To MP4

1. Hire a Professional Service
Converting old VHS tapes to digital files is an excellent choice for those seeking a hassle-free approach with superb results. Specialized services excel at transferring obsolete media to contemporary formats, often restoring videos for improved quality.
To begin, research reputable providers with stellar reviews and a proven track record of high-caliber work. Selectively choose a VHS to MP4 service tailored to your preferences – some facilitate online shipping of tapes, while others offer local drop-off points.
Upon receipt, professionals employ top-grade equipment to digitize the tapes. They meticulously clean tape heads and rectify minor damages to ensure optimal transfer fidelity.
Many services additionally offer restoration techniques to correct faded colors, eliminate visual noise, and produce pristine digital files.
2. Use a VHS to DVD Recorder
Using a VHS to DVD recorder provides an easy way to transfer VHS tapes to digital format. The process involves a device recording VHS content onto blank DVDs. This process is ideal due to its simple one-step nature without additional devices or software.
To utilize a VHS to DVD recorder, obtain either a standalone DVD recorder or combo VHS/DVD unit from electronics stores or online platforms.
Connect your VCR to the DVD recorder via RCA, S-Video, or FireWire cables ensuring compatibility. Insert the VHS tape into the VCR and a blank DVD-R into the recorder.
Rewind or fast-forward the VHS tape to the desired starting point. Press “Record” on the DVD recorder and “Play” on the VCR.
3. Use a VHS to Digital Converter

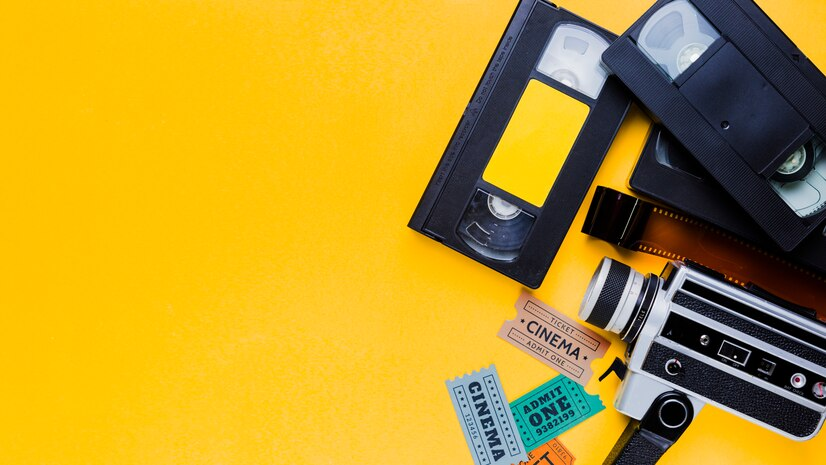
Video home system tapes were the standard before digital media. However, MP4 files have become popular now. Converting VHS tapes into digital MP4 files preserves memories. A VHS-to-digital converter does this task.
Using a VHS-to-digital converter is straightforward.
Pick one suitable for your computer system after checking quality and reliability. Next, securely connect your VCR to the converter with RCA or S-Video cables to maintain video quality.
Then, plug the converter into your computer’s USB port – most are plug-and-play devices. Install any software provided to guide the conversion process and facilitate editing.
To begin conversion, insert your VHS tape into the VCR. Cue to the desired starting point. Follow the software prompts to initiate a transfer, usually by pressing “Play” on the VCR and “Record” or “Capture” in the program.
Once complete, utilize the editing tools to trim and save the MP4 file. This process preserves memories across devices for the long term.
4. Use a Capture Card
Technology fans want high-quality digitalization. A capture card is excellent for that. It captures VCR video signals and sends them to the computer, converting VHS into digital files—those who want precision and control like this method.
To use a capture card, first, choose a capture card that meets your needs — cheap options or professional ones with extra features. Connect your VCR to it using an HDMI or composite cable. Then connect it to your computer by USB or PCIe. Install the required software and drivers.
Next, adjust settings for output file type and quality — MP4, MOV, AVI. Ready? Play the VHS tape and use capture software to transfer it live, saving the video file onto your computer.
Using capture cards lets you digitize with quality customization. It’s for those willing to get the right gear to preserve memories with high fidelity.
5. DIY Setup With a VCR and Computer
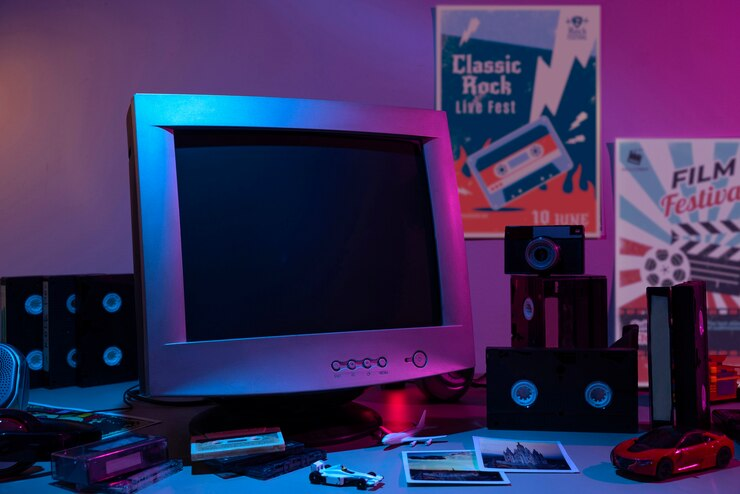
Creating a DIY setup video conversion station with an old VCR and computer is fun. You get to tinker with hardware while saving on costs. Plus, this hands-on method gives you power over the whole process.
First, grab a working VCR with composite connectors for video and audio. Next, buy a USB adapter to hook up to those connectors. Then, connect this converter to a USB port on your computer.
Download video recording software – maybe one that came with the adapter or another app designed for this. Just set it to take input from the converter and output files as MP4.
Now you’re ready. Pop your VHS into the VCR and hit play. The software will digitally copy that tape in real-time onto your computer as an MP4 file.
This DIY approach is rewarding for tech-lovers comfortable working with cables and settings. You’ll feel proud to convert those memories yourself.
Conclusion
This article examined different ways you can digitize your analog memories. It could be a device, service, or personal effort. But digitizing is critical to preserving stories.
Welcome the digital age — make old things new again! Your future self will appreciate preserved memories, reclaimed space, and continued legacy.