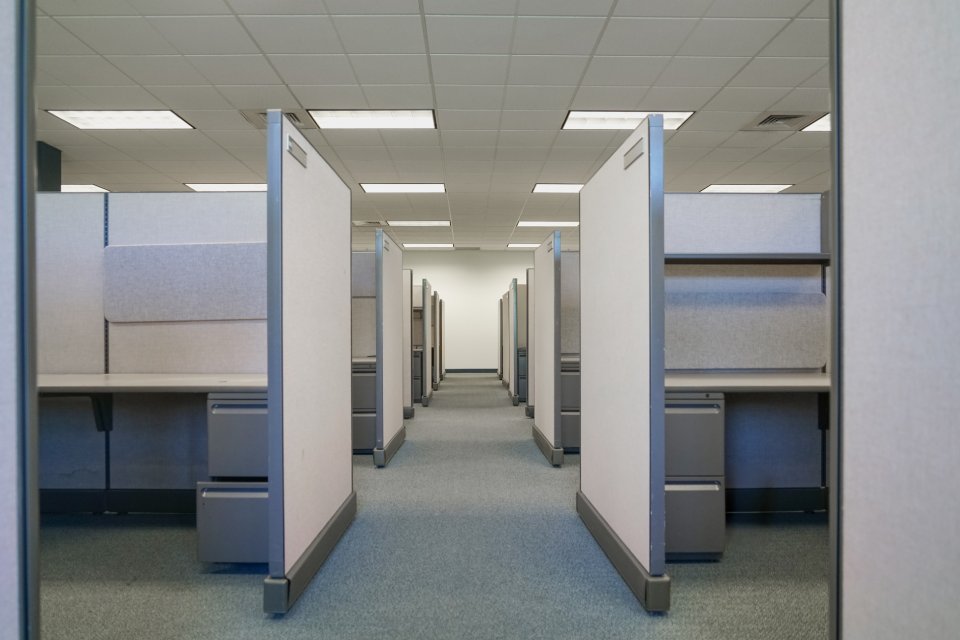
Disassembling office cubicles is one of the most daunting tasks when initiating major workspace transitions, but with the right approach, it’s simpler than you think. Whether you’re getting ready to move offices or simply reorganizing, following the right steps can help save time and effort. This guide will walk you through the process, ensuring everything is done efficiently and without unnecessary headaches.
Gather Necessary Tools
Before you start, make sure you have all the tools you’ll need. Common items like screwdrivers, Allen wrenches, a rubber mallet, and a ladder to reach high components are essential for most cubicle systems. It’s also helpful to keep small bags or boxes and zip ties handy, especially when dealing with wiring or fasteners. If possible, consult the manufacturer’s manual for your cubicle system to ensure you use the right equipment.
Detach Built-In Accessories
The first step in physically disassembling the cubicles is removing any built-in accessories. Start with larger integral pieces such as desks and cabinets, then remove smaller shelves and organizers. These components are often attached with screws or brackets, which can be quickly removed using your toolkit.
Pay special attention to any electrical components, such as cable channels, outlets, or lights. Disconnect and safely store wiring to prevent damage. If you are unsure how to remove electrical components, it is wise to consult a professional electrician.
Remove Outside Panels
Once accessories are removed, you can focus on the cubicle’s panels. The outer panels typically need to come off first before you can access the framework.
Start at the top and work your way down, loosening screws or pulling apart connectors as needed. Panels can be bulky, so having an extra set of hands is vital for keeping everything balanced and safe. Once the outer panels are removed, you can move on to the center panels.
Pro tip: Keep detached parts labeled and grouped together to make reassembly quick and hassle-free.
Separate Panels From Connector Rails
The final step is to disconnect the panels from any connector rails or vertical supports holding them together. Use an adjustable wrench to loosen and remove any nuts and bolts, securing the panels to the frame and tapping the panel with a rubber mallet for easier removal. Work on one section at a time, and double-check that all pieces are properly separated before moving on to another area. Neatly stacking these parts will protect them from damage during storage or a move.
When you follow these steps, you can disassemble office cubicles efficiently and without frustration. Taking the time to organize tools, parts, and panels as you go ensures the process is straightforward from start to finish. If you’re preparing for the necessary disassembly for an office move, a structured approach like this will help everything go off without a hitch. Start planning now, and you’ll be ready to tackle your cubicle project with confidence!

